
How to create your
Ouisnap filter
Follow the tutorial for the tool you use, respect the specifications below, then send us your file — we'll confirm setup within 24h.
Technical specifications
Dimensions
960 × 1280 px
3:4 portrait format — do not change
File format
PNG
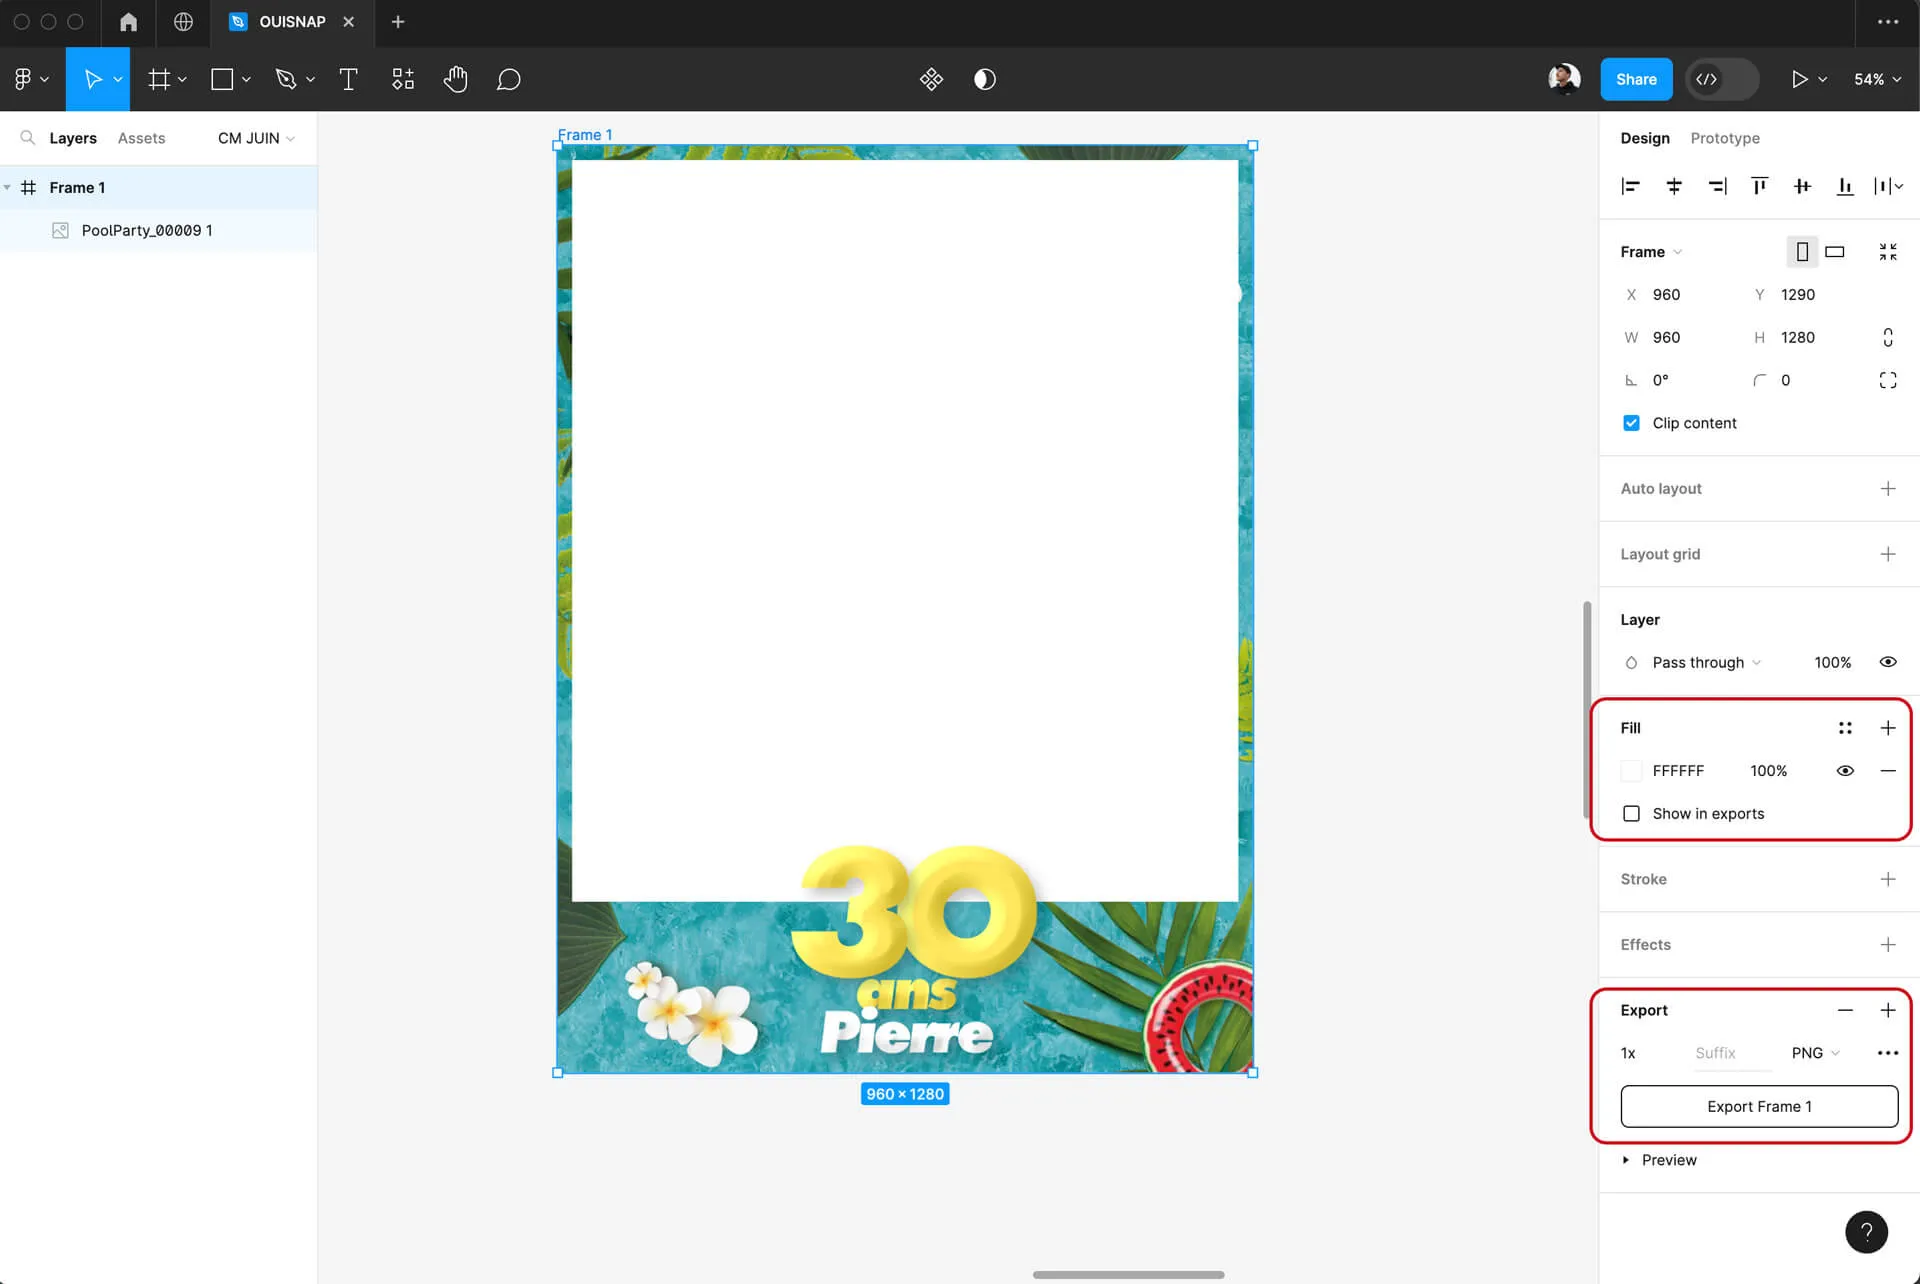
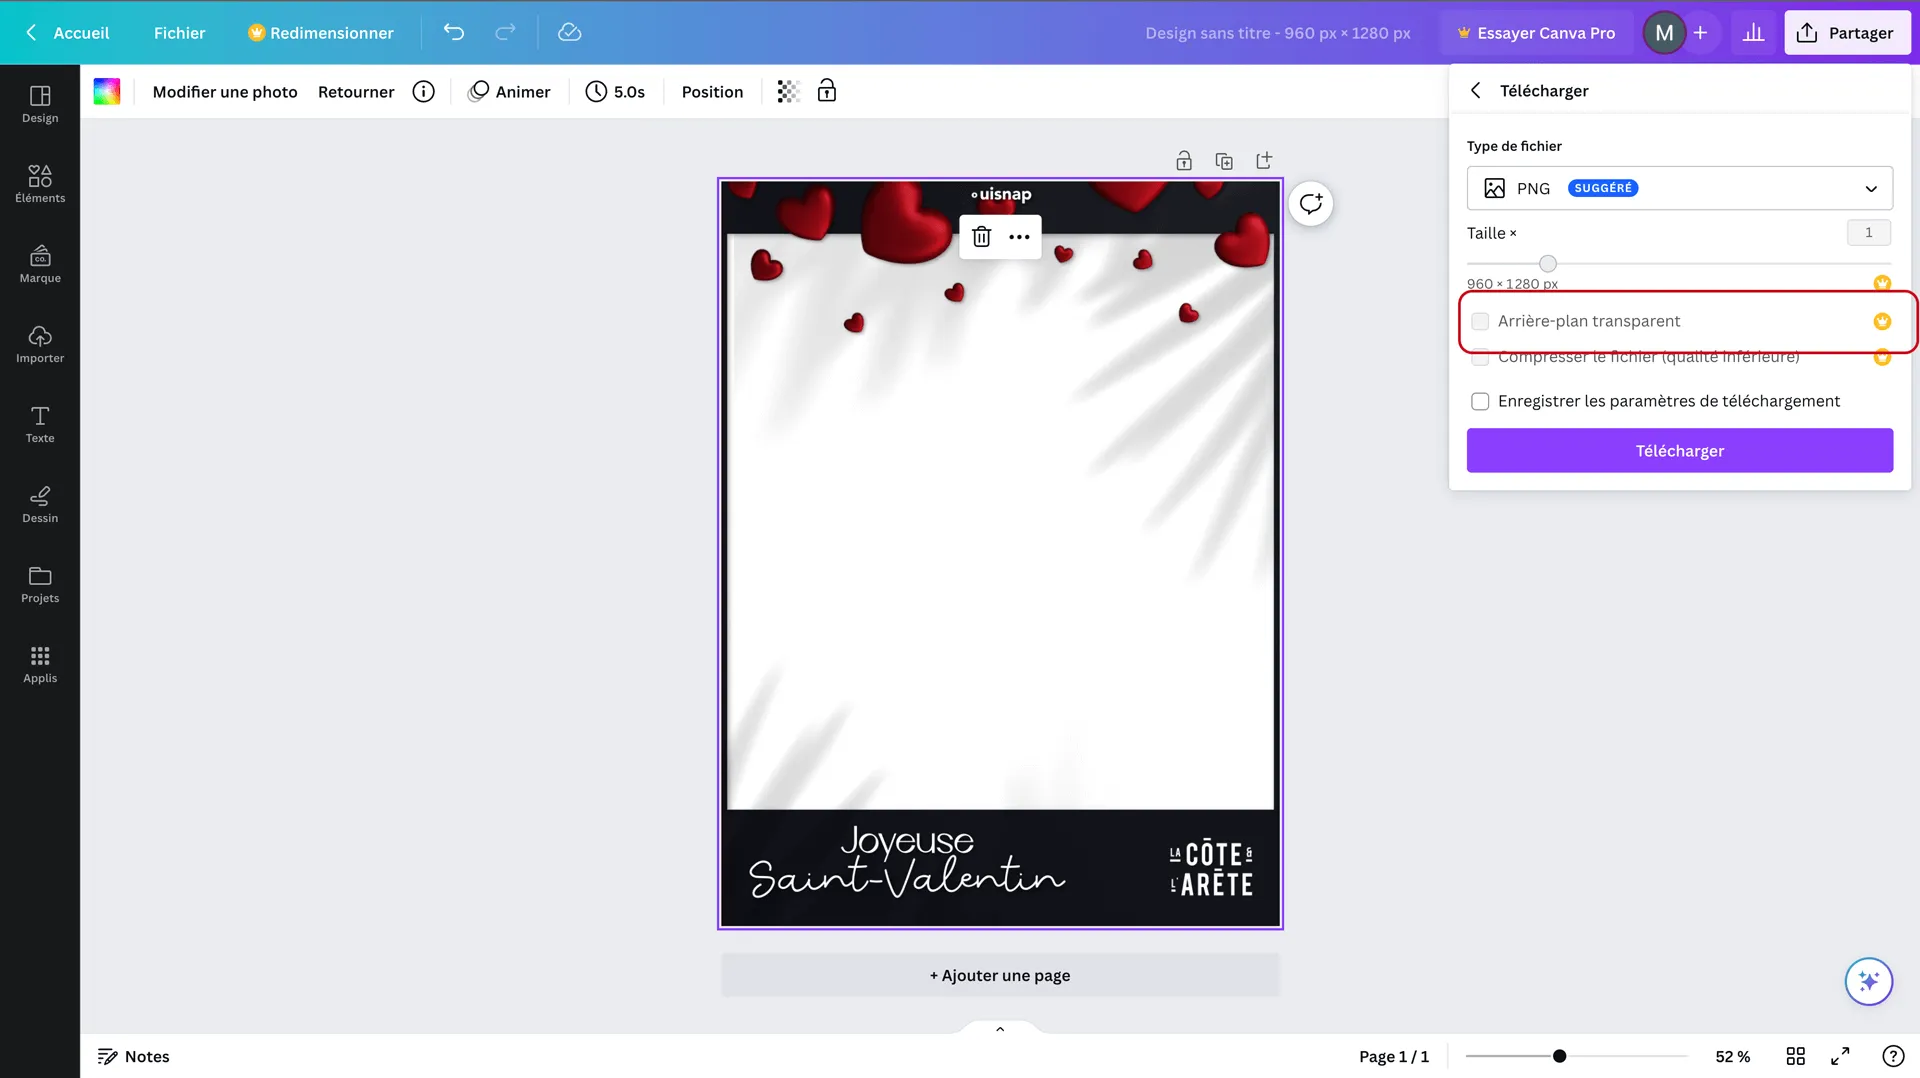
With transparent background — required
Rules to follow
No white or colored background — transparent only
Leave the center clear so the face is not hidden
Check transparency before sending the file
Recommended decoration area
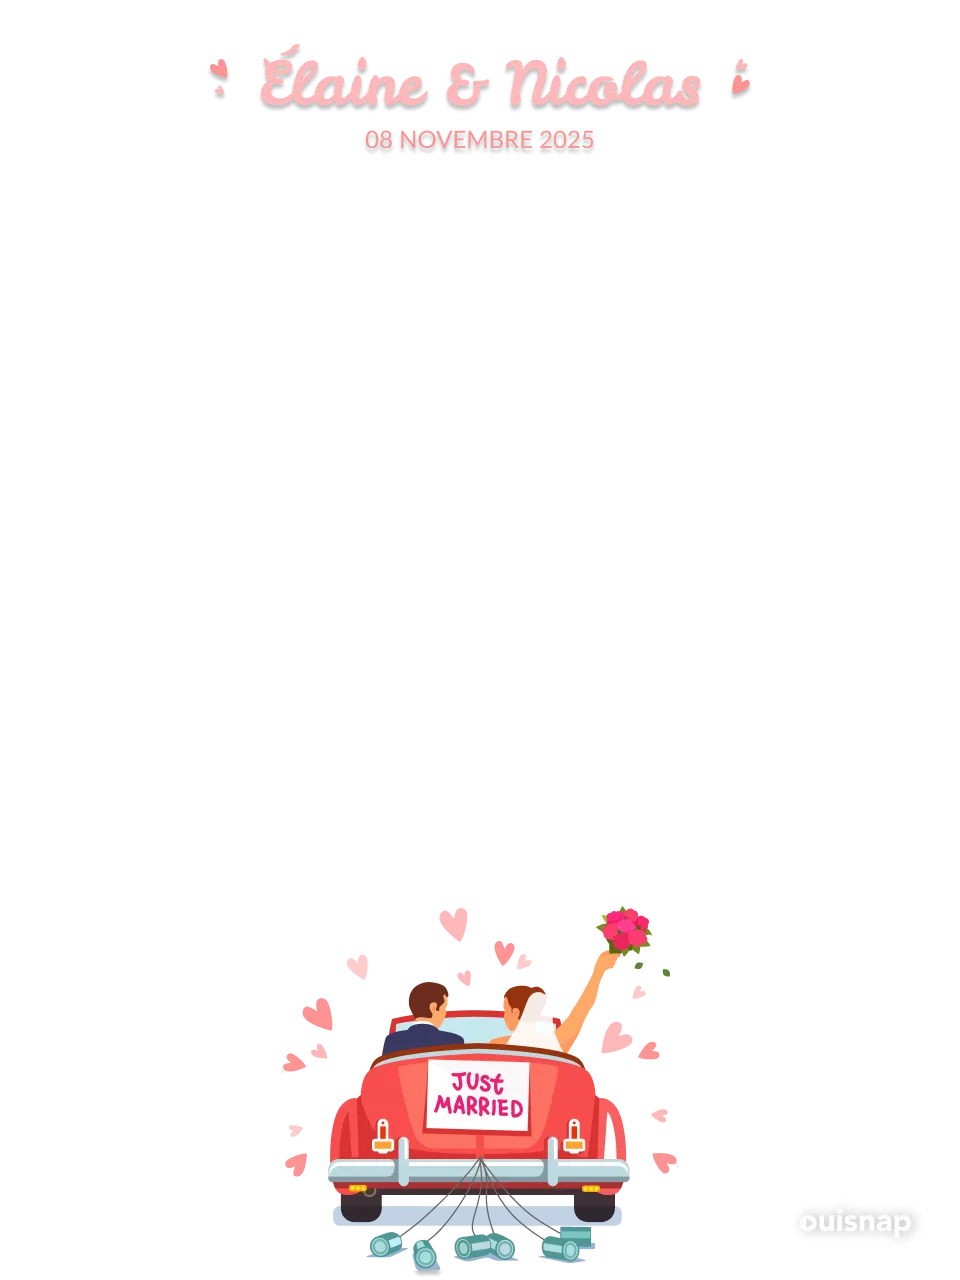
Decorate the edges and corners. The center is reserved for the person being photographed.
Choose your tool
- 01
Create a new document
In Photoshop: File > New. Set width to 960 px and height to 1280 px. Resolution: 72 ppi. Color mode: RGB. Background contents: Transparent.
- 02
Build your design
Add your graphic elements: logo, frames, text, patterns. Concentrate decorations along the edges and corners. Avoid placing opaque elements in the center of the image.
- 03
Check transparency
Make sure no white or colored background layer is visible. The gray checker represents transparency in Photoshop — that's what you should see behind your elements.
- 04
Export as PNG
File > Export > Export As (or "Save for Web"). Choose PNG-24 format and tick Transparency. Name your file and save.
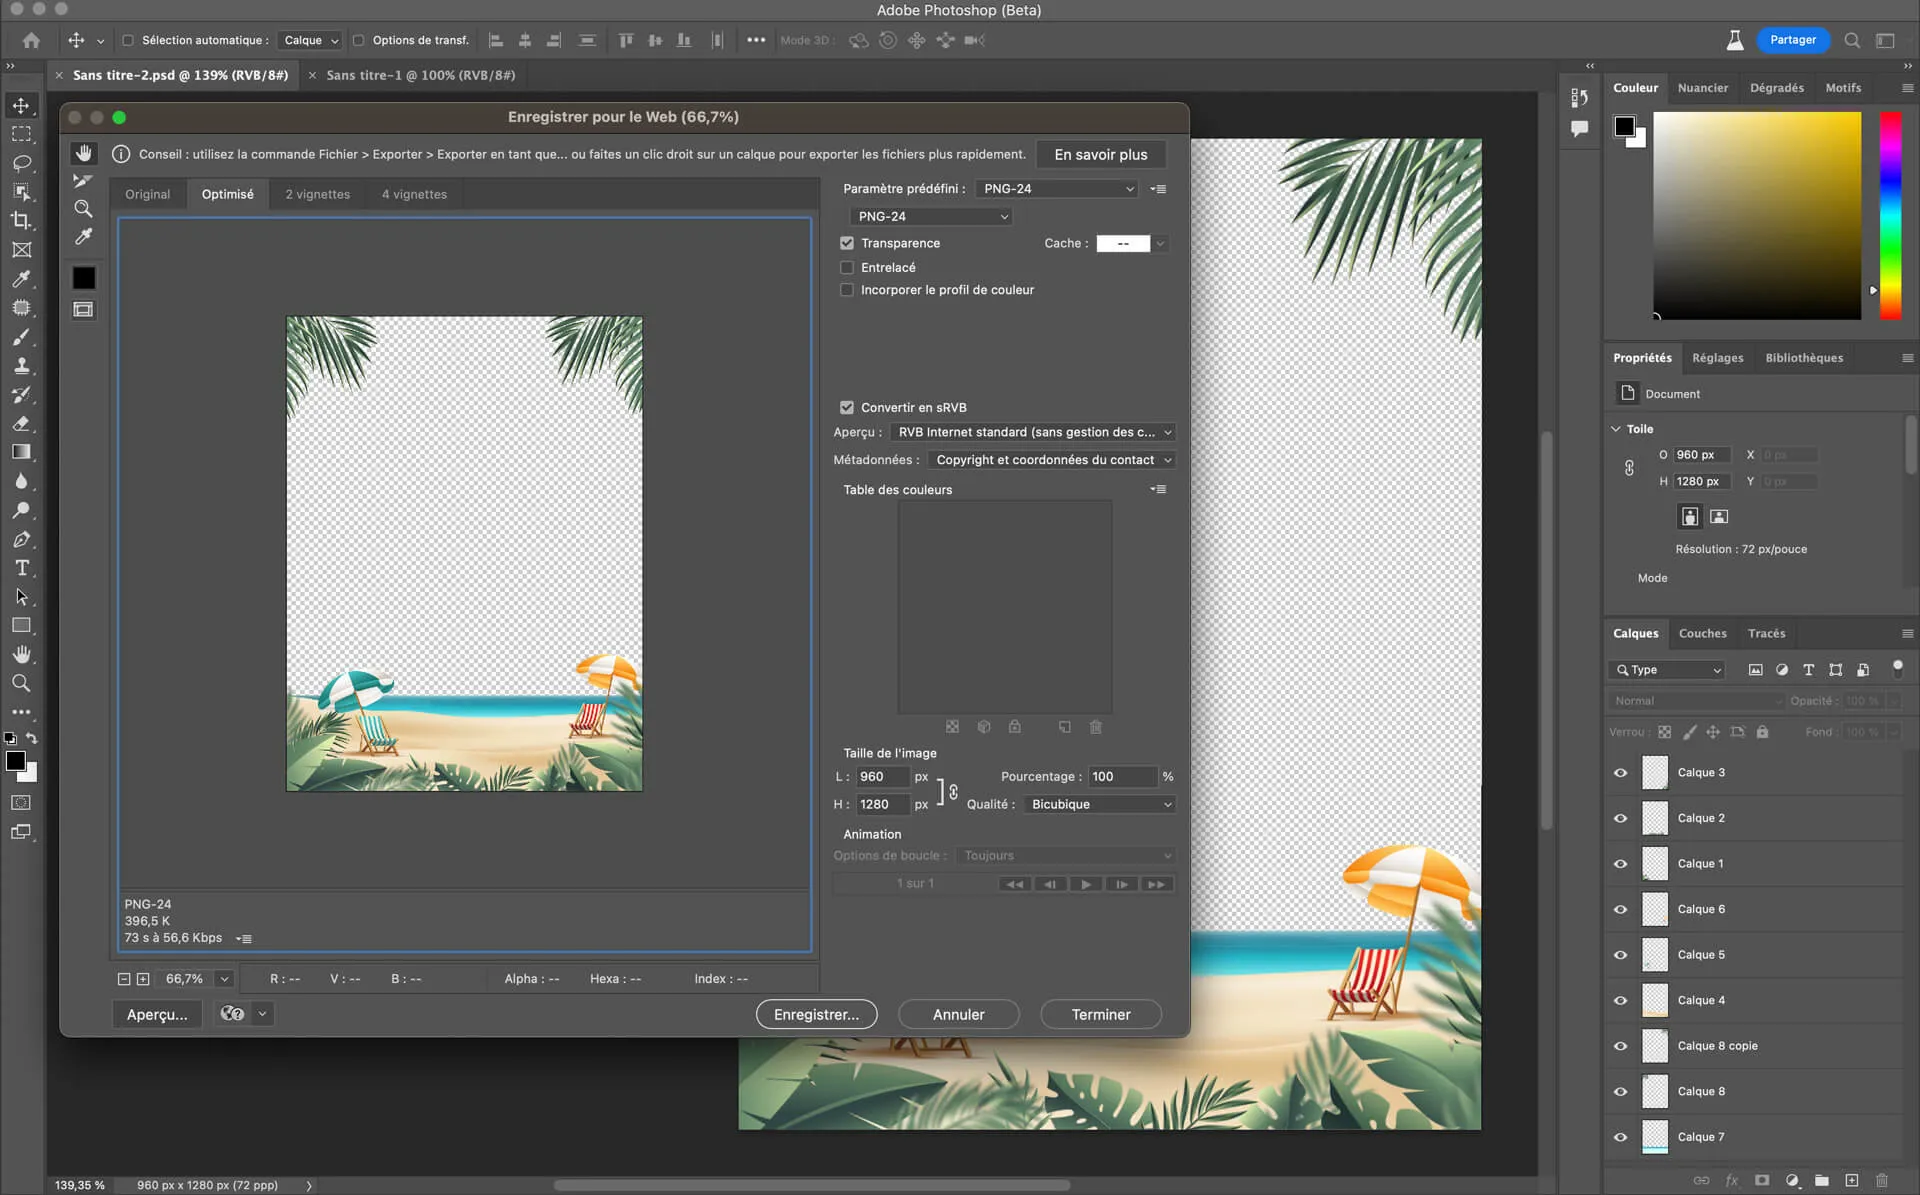
Same approach for Illustrator (File > Export > Export As > PNG) and InDesign (File > Export > PNG).
Filter examples
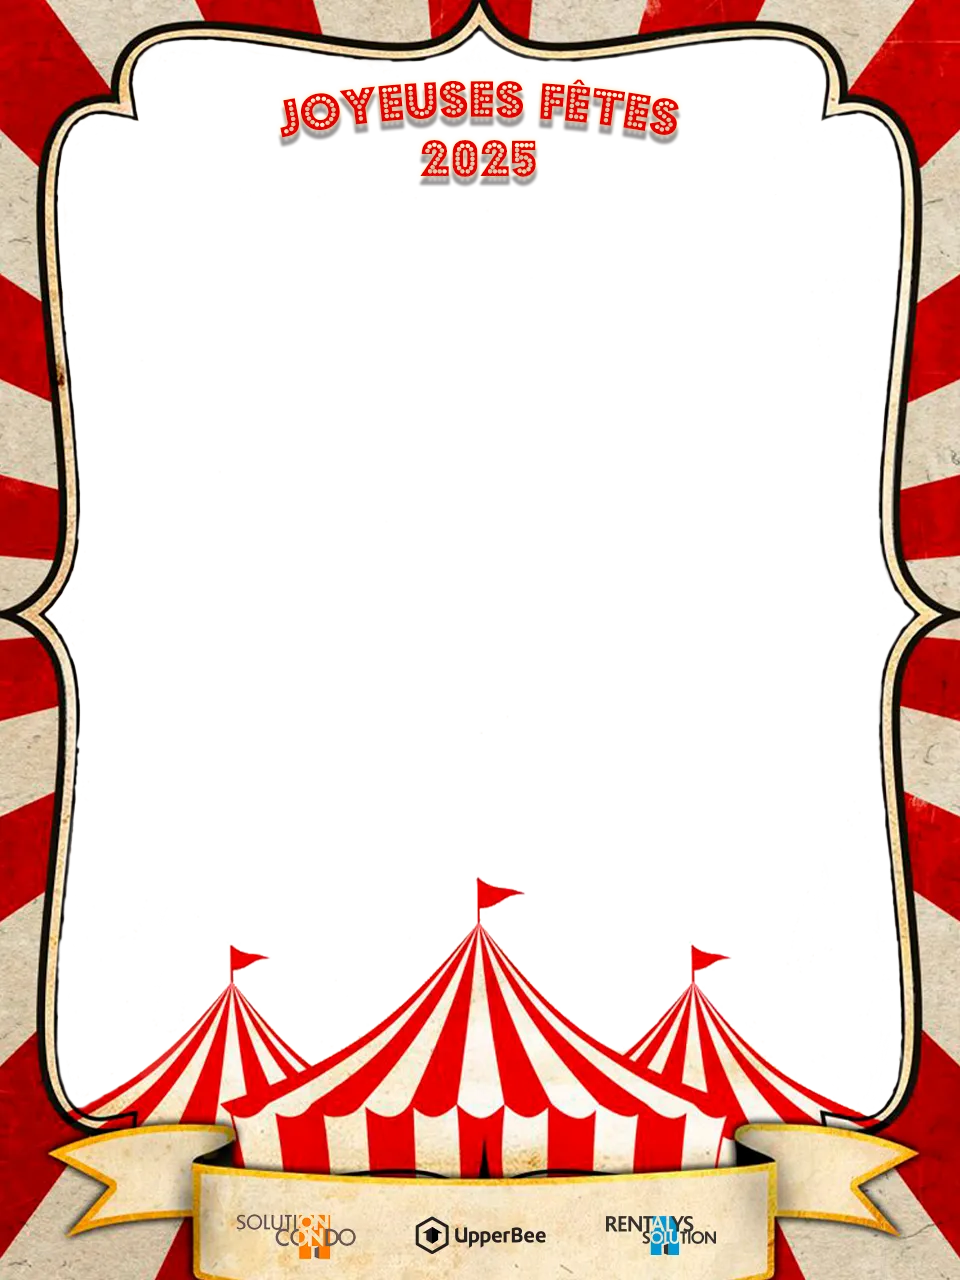
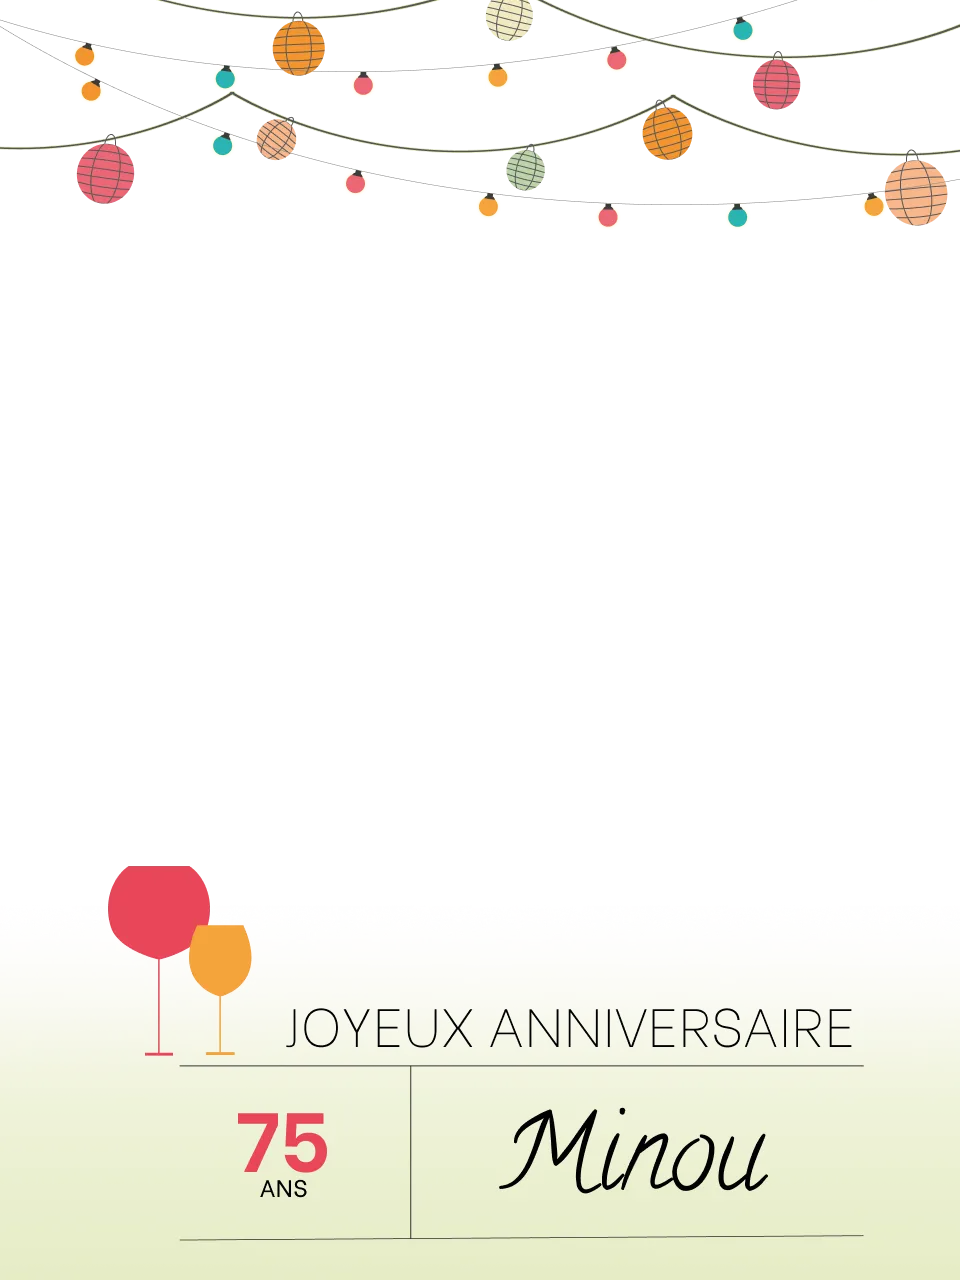
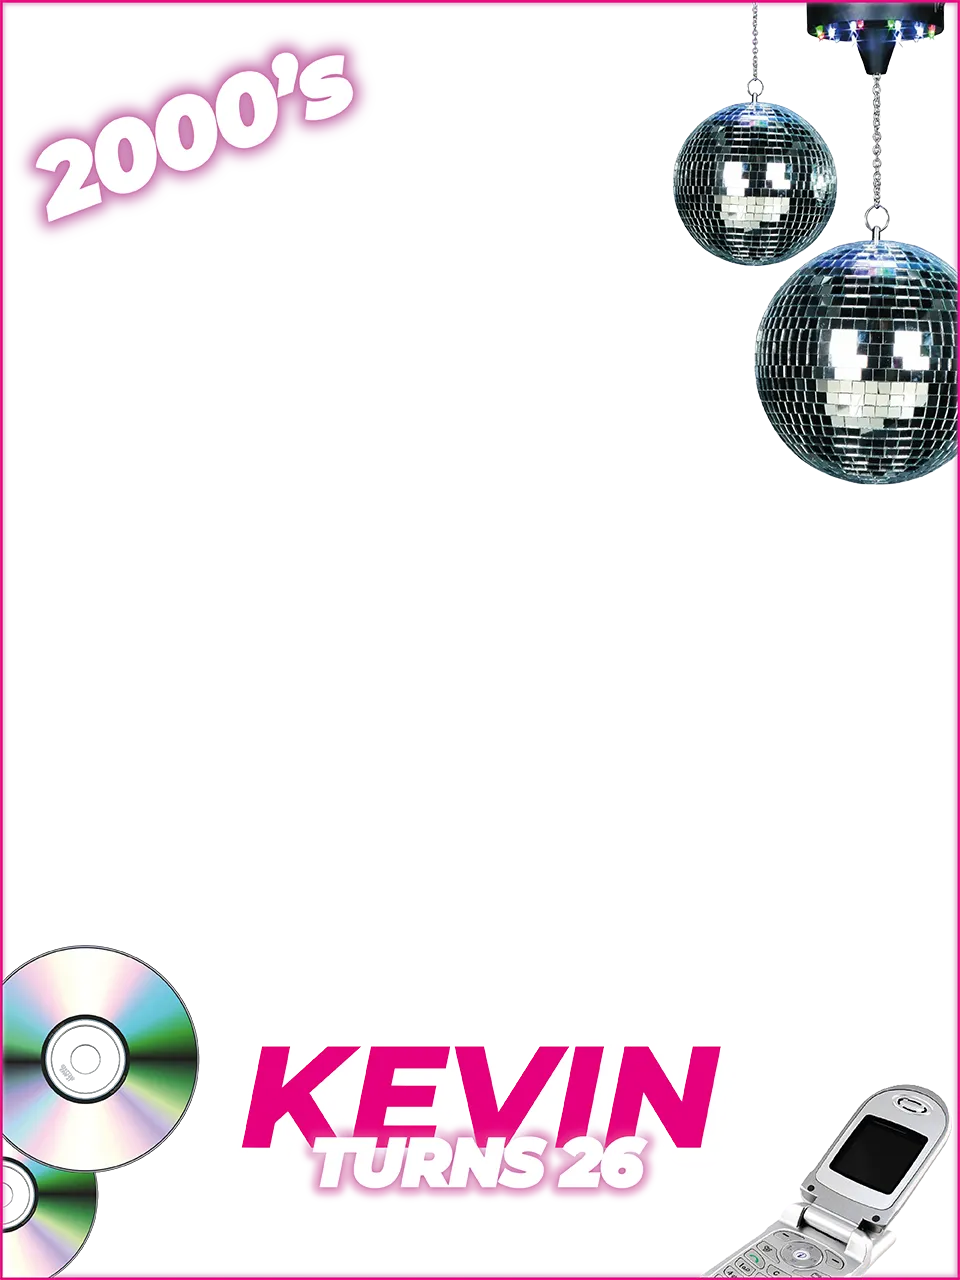
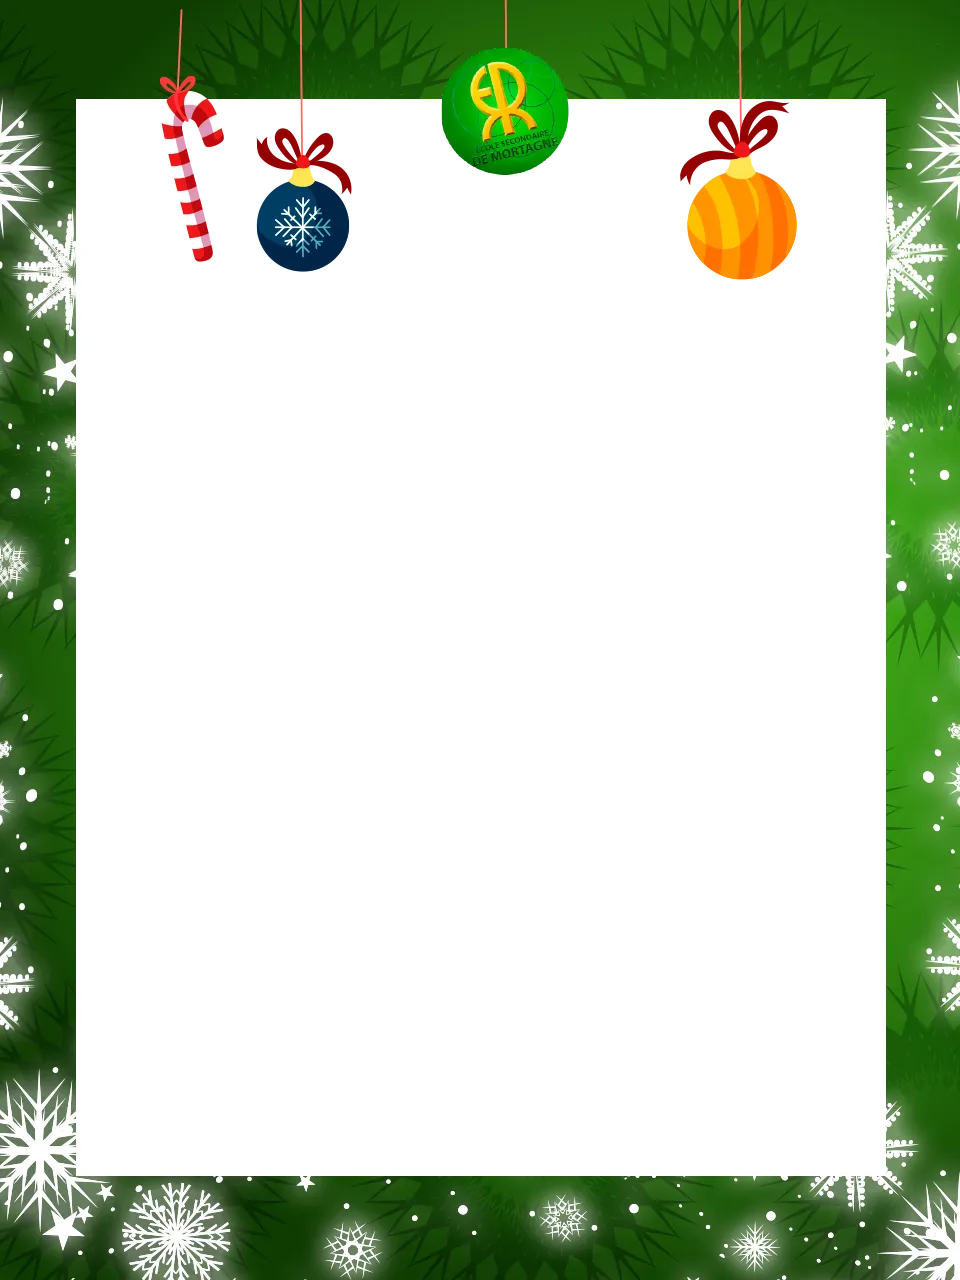
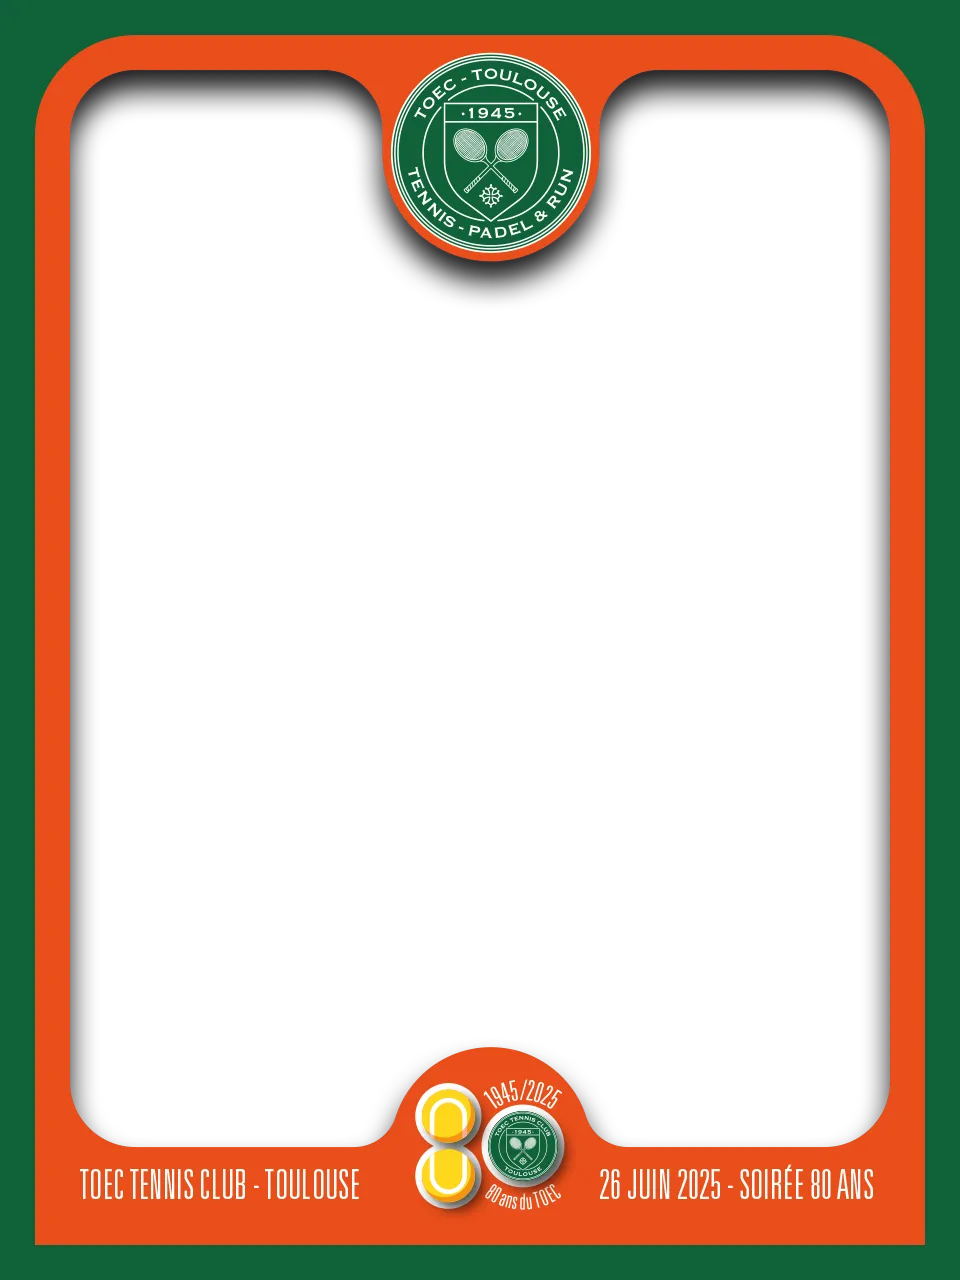
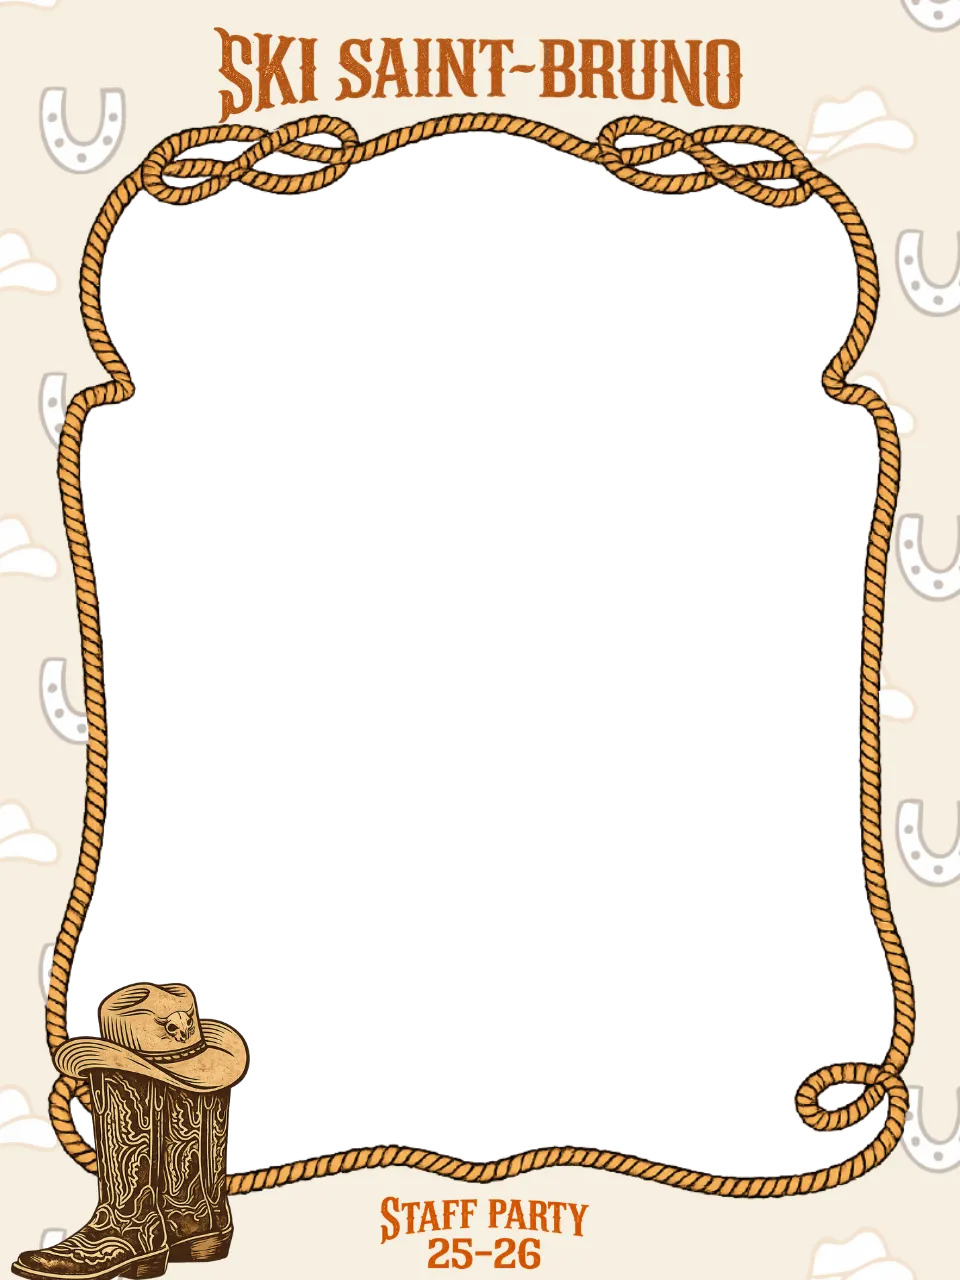
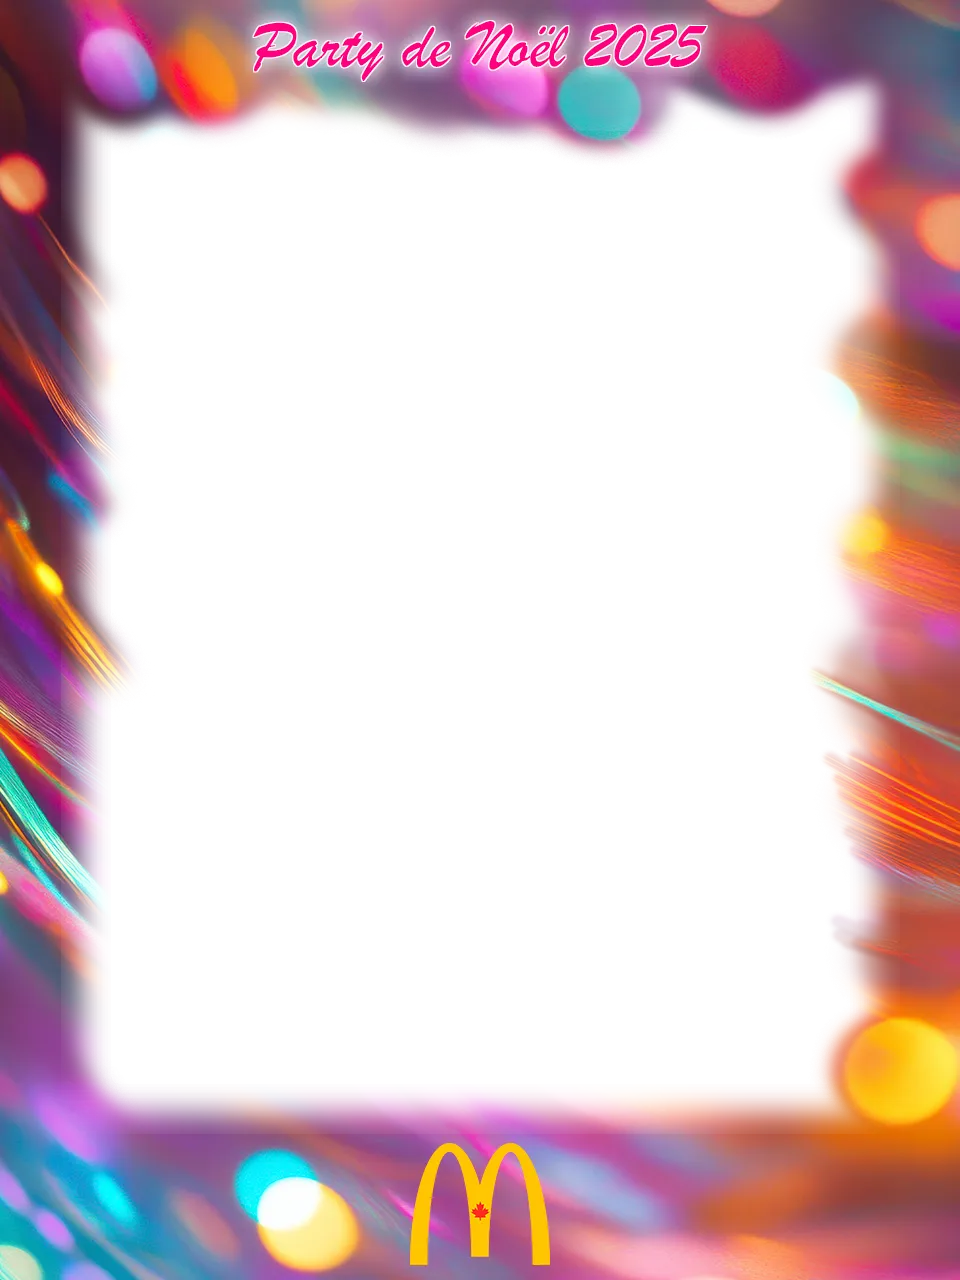
Filter ready to go?
Send us your PNG file through our upload form. Our team checks it and sets up your filter within 24h.
Send my filterGot a question? canada@ouisnap.com